Introduction
The Voidstar Hardware Hacking Bootcamp is a 5 day hands-on training that aims to teach students the basics of hardware reverse engineering and protocol analysis. In just a few days, you’ll transition from novice to confidently dissecting and tackling any electronic device—identifying components, devising an attack plan, and executing it with precision. One of the greatest parts of this training, and what separates it from most, is that it comes with its very own hardware hacking starter kit – and you get to take it home with you!
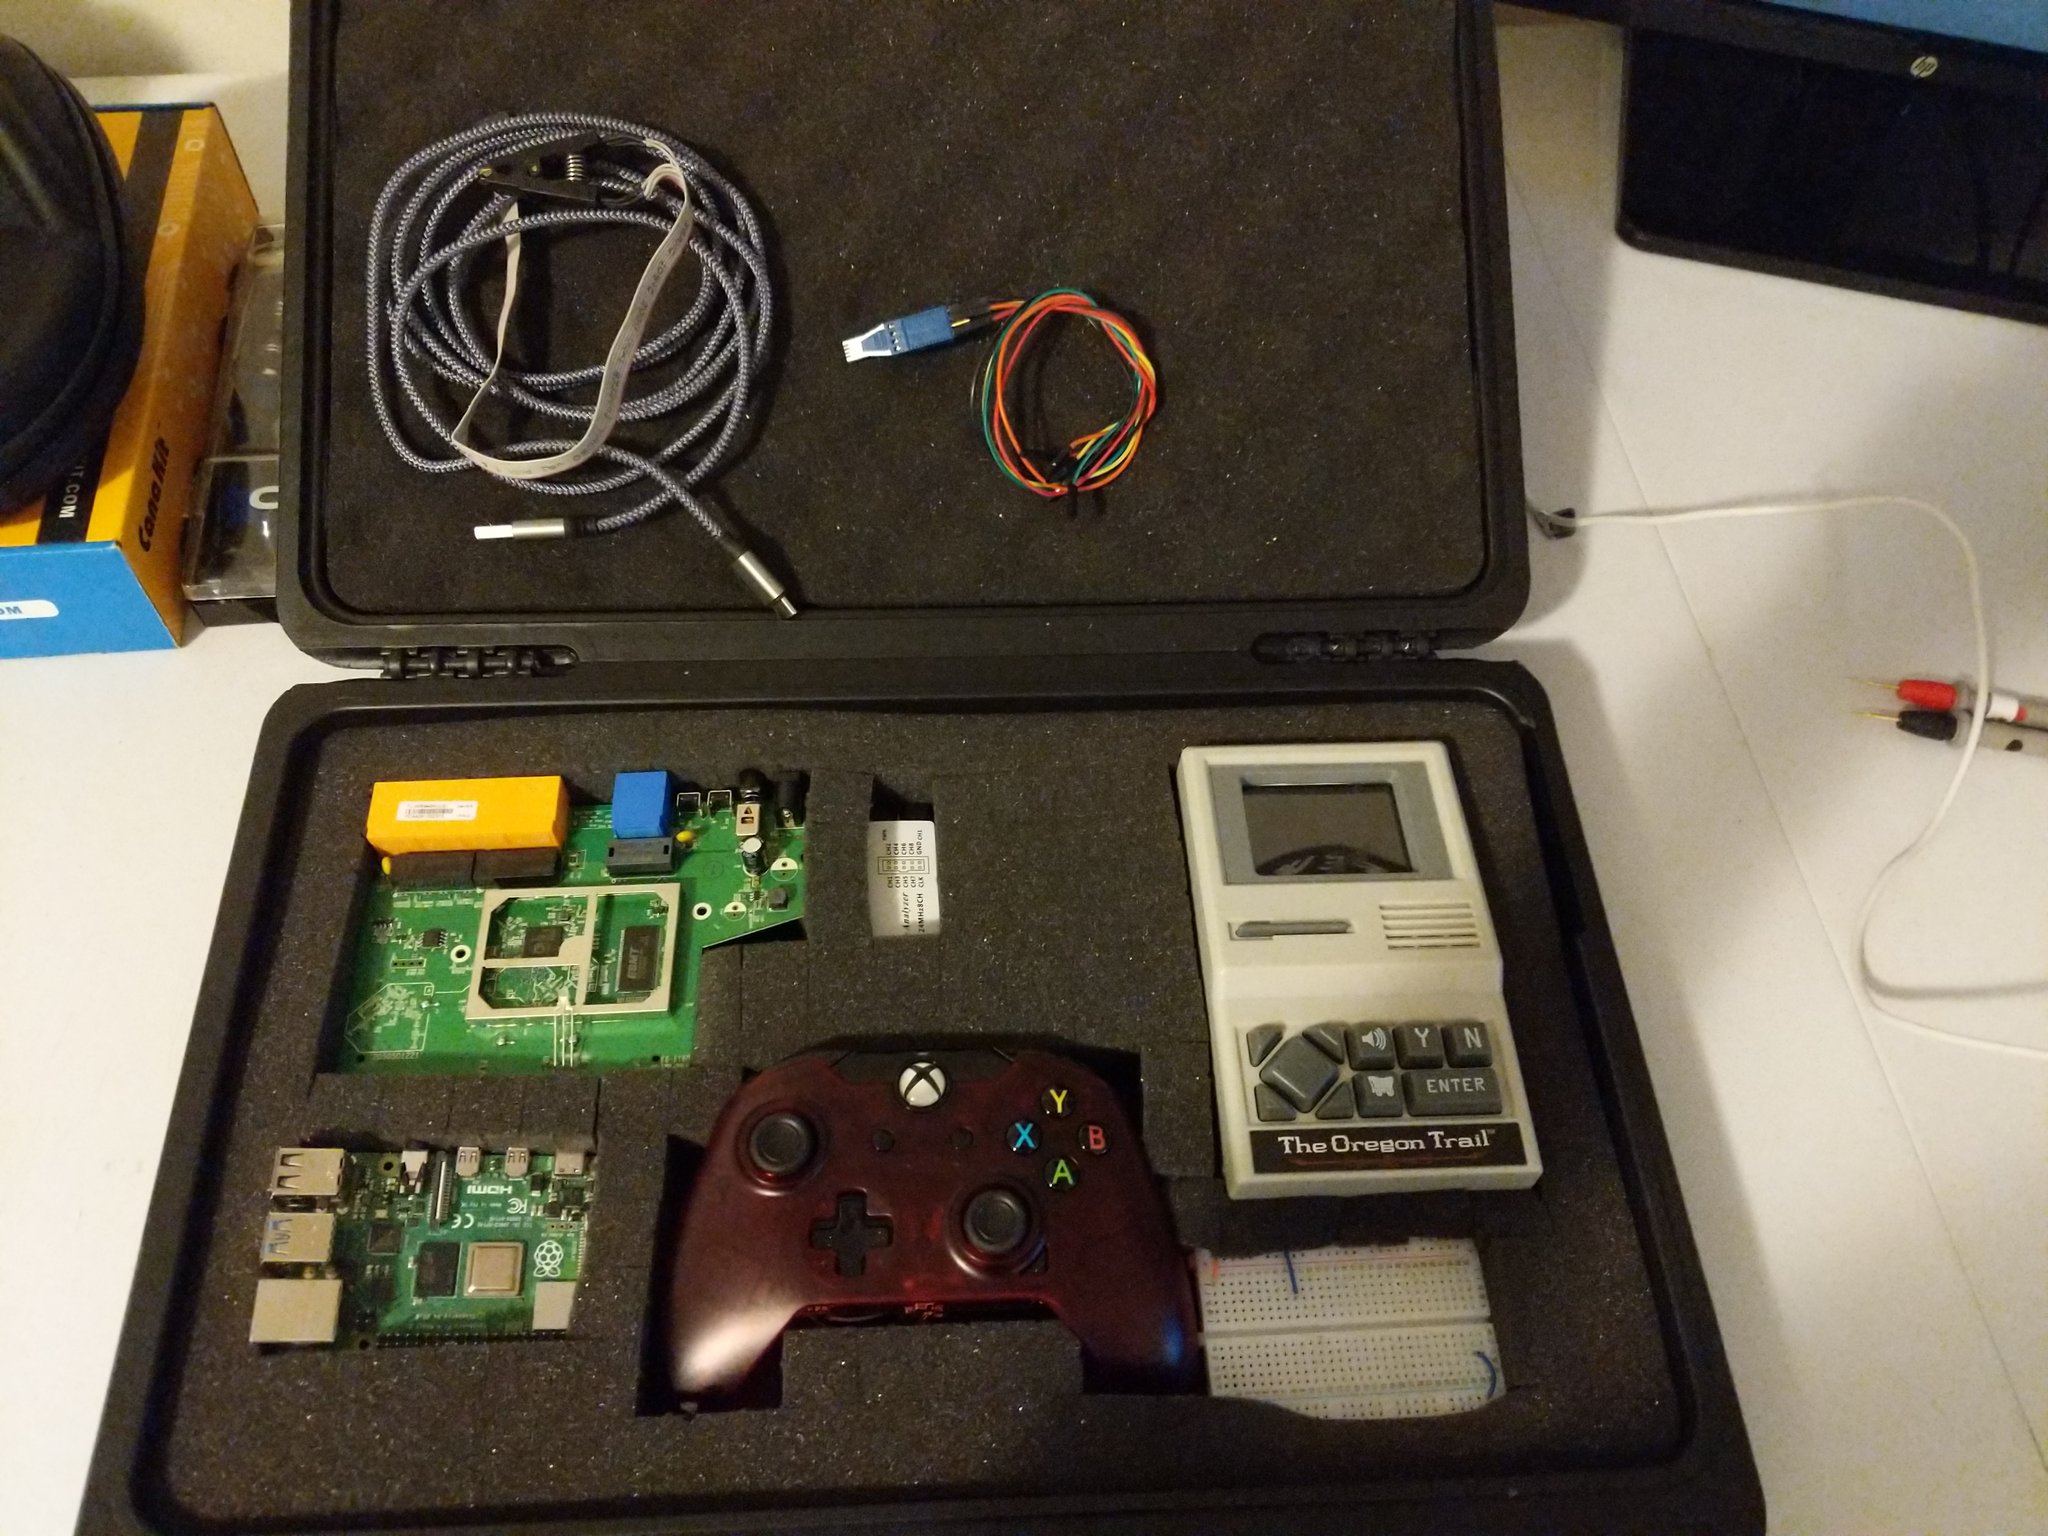
The goodies in this bundle included:
- Raspberry Pi 4 with USBC cable and power supply
- Target #1: Travel Router
- Target #2: Arcade Cabinet
- Target #3: ARM Based USB Controller
- Target #4: Solid State Drive + USB Adapter
- Breadboard, logic level shifter, jumper wires
- Multimeter
- Logic Analyzer
- SOIC8 Clip
- SPI EEPROM, I2C EEPROM
I found this to be super useful as I was wanting to get more into the hardware space, but always felt like I didn’t quite know what equipment to get, what was good or bad, etc. Now I have a great starting point that I can build off of.
Course Structure
The course took place over a 5 day period, each day going 9-5 with a lunch break. It also took place in person which was really nice. Though I did hear that online offerings were done, I can only imagine how much more difficult that must be when there’s wires to plug in, faulty hardware, and who knows what else. With the class being in person it was easy for the instructor to identify common pitfalls quickly, and you could tell the course had been taught several time before because there was almost always a
Instructor: did you try X? Me: oh…yeah that fixed it My brain: am i the dumbest person alive? (no but seriously why is it always just reboot)
Additionally, laptops were provided for all the students which was super nice because I had just bought a shitty laptop the night before and thrown ubuntu on it as I wasn’t sure how that would work, but thank goodness. Labs, datasheets, slides and all are on the course provided raspberry pi and hosted locally in a jupyter notebook, which made it super nice and easy to follow along. Plus, we got to keep them when we took the pi home!
Core Learning Modules
The course covers everything from analyzing a PCB in order to identify what capacitors look like all the way to explaining the internal workings of the JTAG TAP State Machine. The course places significant emphasis on understanding core protocols. It’s not enough to simply understand there’s a TX and RX for UART and we plug some wires into our raspberry pi and voila we get a root shell. We need to know how to manually calculate the baud rate, what is a baud rate, are there parity bits, how big is the data frame? These are things that to a seasoned veteran in the space might seem trivial, but when you open up your logic analyzer for the first time and all you see are some digital signals and you find out how to manually interpret these electrical pulses into meaningful data, it’s a super cool moment!
And of course this thrill wasn’t only spent on UART. We also covered SPI, JTAG, I2C, and SWD; each having their own quirks and ways to interact with the device. I won’t go into much detail covering what each of these protocols are or how they work because I think the trainer Matt said everything I would say, but better, in an article of his own. So go check out the technical details about what was covered over there and also see some cool pictures and videos!
My Experience
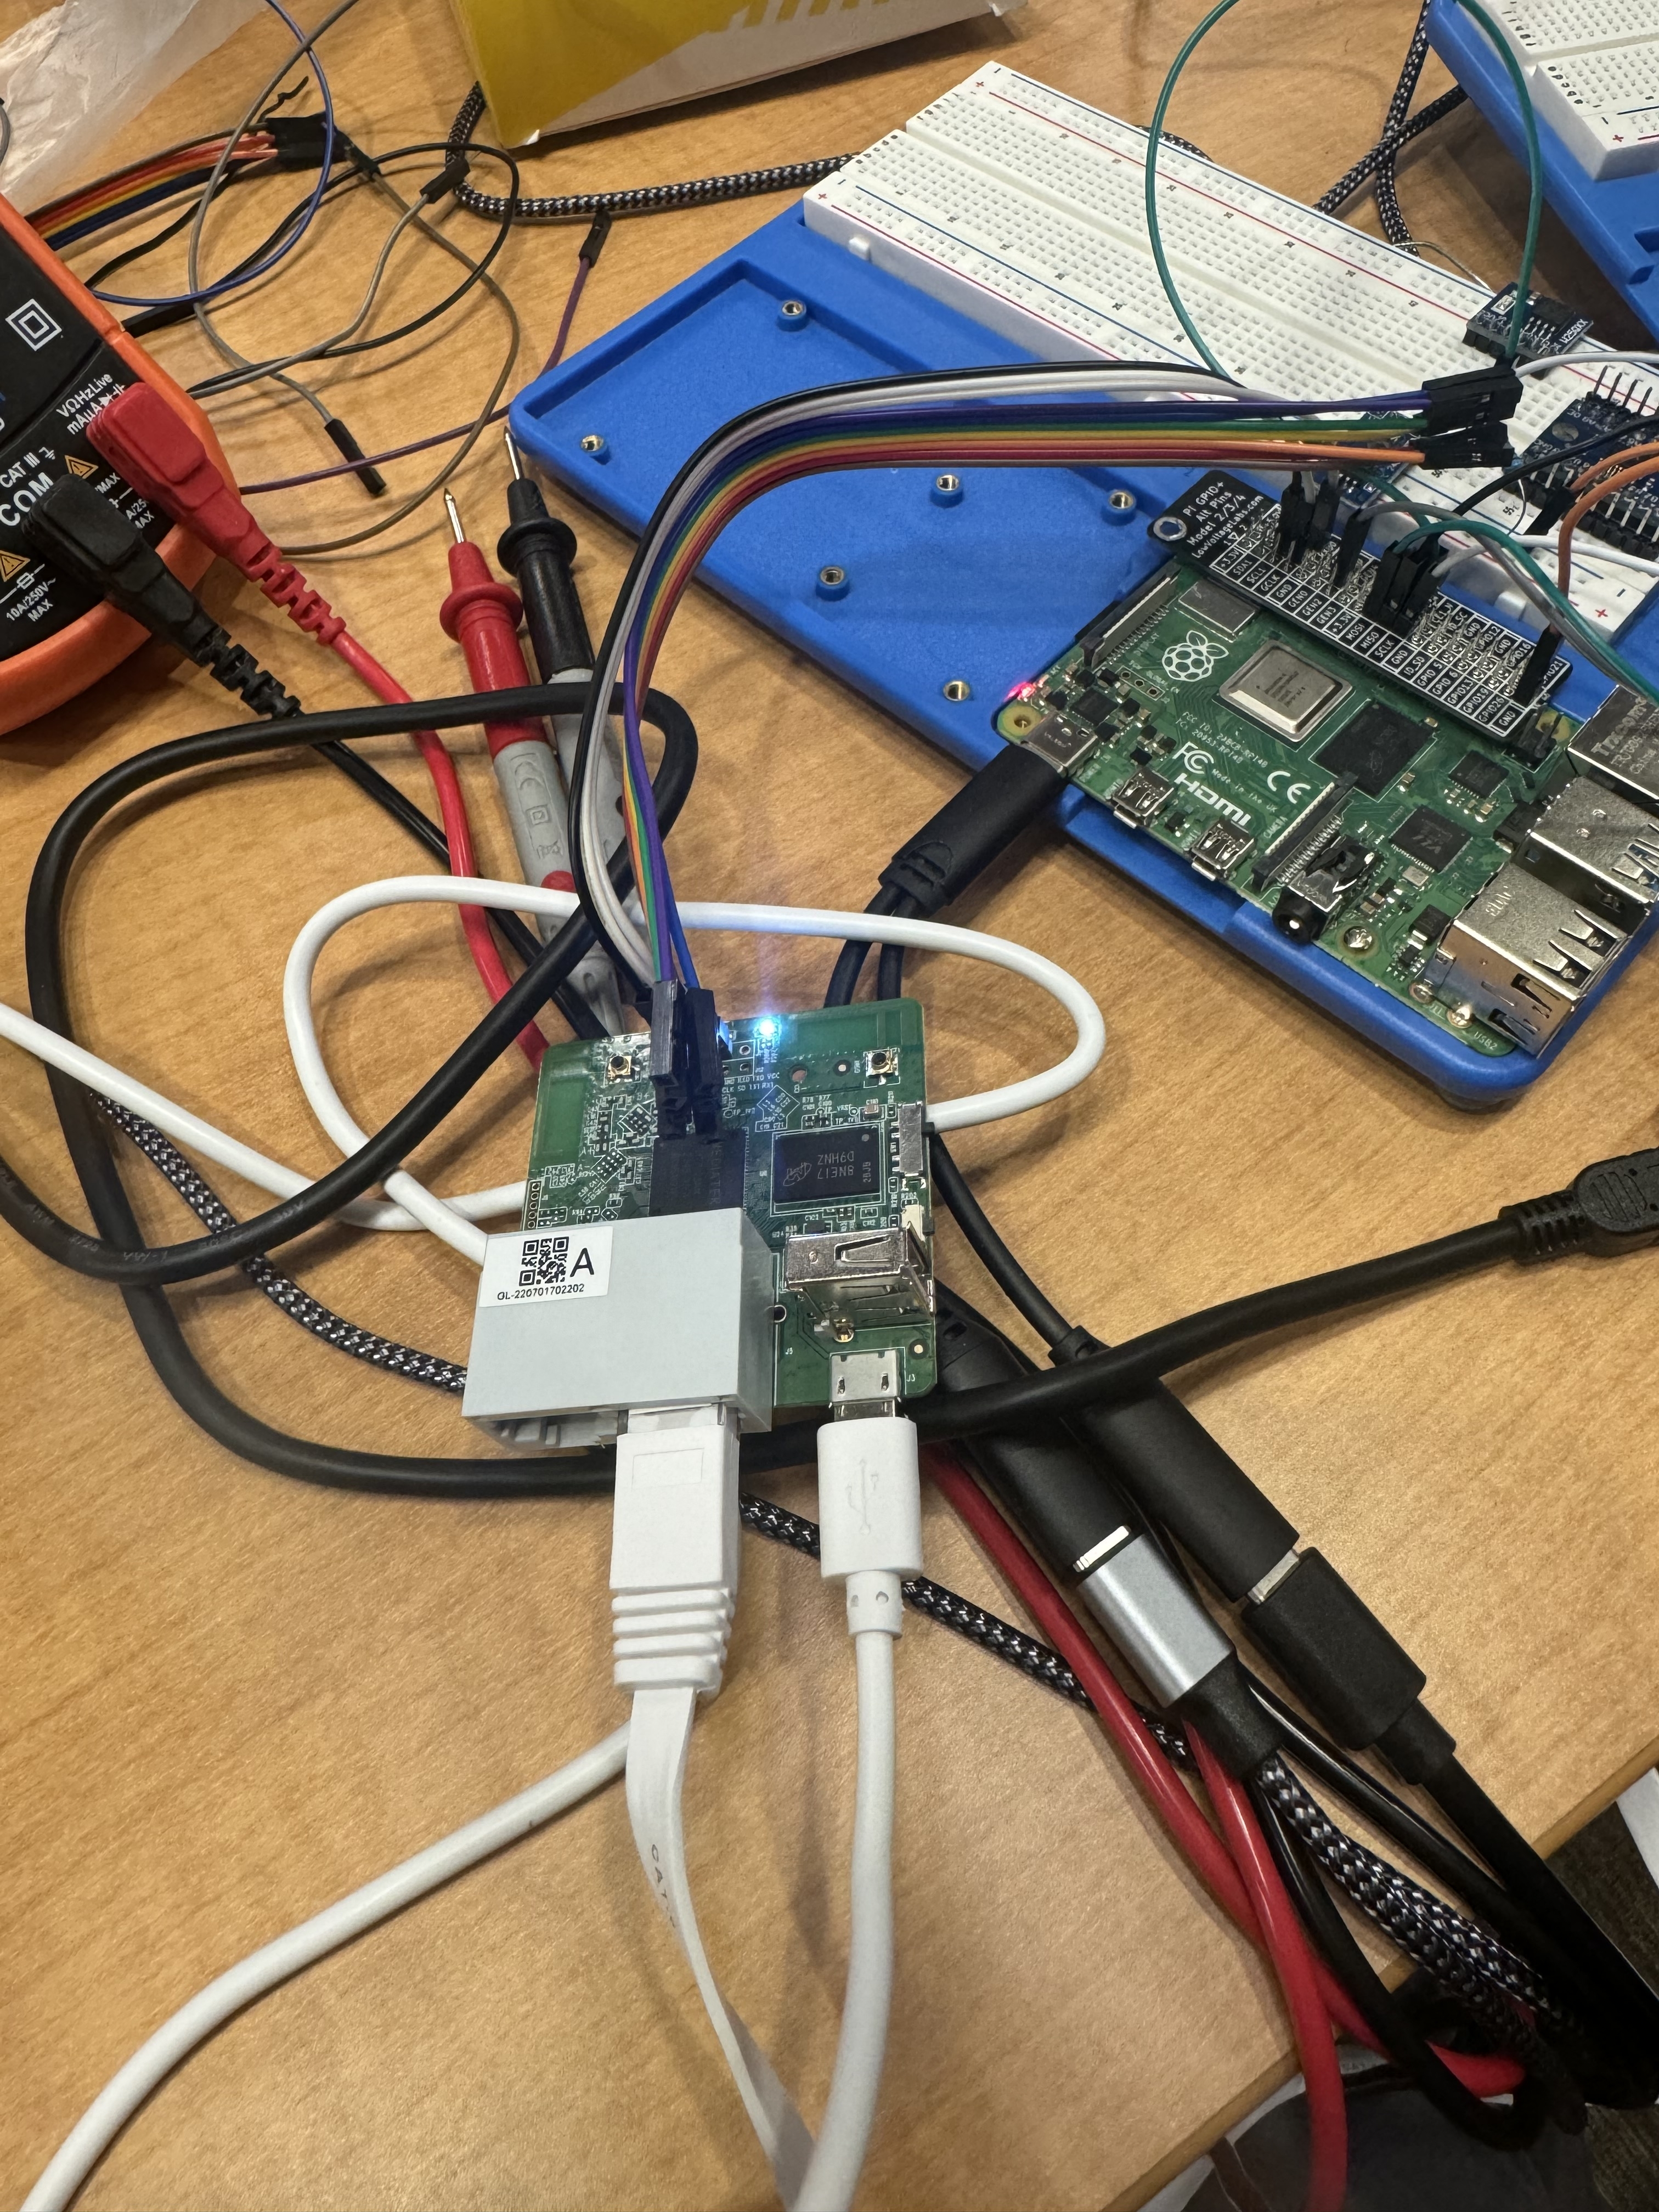
First off, I want to say that I really thoroughly enjoyed this training. Like I said before, I have been wanting to get started in this space for awhile now, but always felt like I didn’t know where to even begin; this was just the jumpstart I needed. I also really appreciated how several of the labs, but particularly the first one, really tested your ability to stick to a task even after encountering what seemed to be consistent roadblocks. I’ve always said that being good at security really just seems to be “being okay with being confused for long periods of time and not quitting”. Little did I know, I’d be putting this mindset to the test, although I’ll admit, confusion is somewhat of a natural state for me.

For the first couple days we exclusively looked at this router(pictured below) that at first glance appeared to be very approachable. However, as we progressed on this target it became increasingly clear that at each step we would encounter a roadblock and need to either pivot to some other technique or modify our approach. Though this made the target challenging, what it did demonstrate is that it’ll almost never be as simple as you might think. Some manufacturers write their own custom uboot implementation with documentation that not even the developers themselves understand. This makes for exciting things like overwriting previously default uboot commands to do entirely different things and they make the help page say some shenanigans like run: run command OR sometimes russian roulette decide to kill the system and erase everything. Seriously though, the customization runs deep, reinforcing the importance of continuously reviewing and verifying assumptions.
After the trials and tribulations that were that router, we finally got root on the box and it was time to move on to the arcade cabinet. This one was really fun because it allowed us to learn about I2C and we were able to pull off data and reflash the device to add our name and a high score! As a tangent, I did appreciate getting to work on “real world” targets as it made it much more rewarding than if the instructor had just given us a custom board with all the ICs on it and things just worked.
After I2C, we moved on to JTAG. I felt that JTAG was certainly a step up as it relates to protocol complexity, There were lots of moving pieces involved in learning how you connect, how does this JTAG TAP State Machine thing work, and what can you even do with this thing? Again, we truly were focused on the lowest level and trying to fully understand how these protocols worked under the hood. This included using Pulseview, a logic analyzer to check all the traffic from each of our protocols and then use some labs to generate fake date to 1) verify assumptions 2) see what it looks like for things to be “non standard”. Nothing says baud rates have to perfectly line up with the standards. It goes back to the crazy device manufacturers doing custom this and custom that.
As far as the hands on JTAG exercises, there were two. We looked at an SSD and had to connect over JTAG, then write an OpenOCD config file for the SSD’s CPU. This was particularly cool as it was our first intro to OpenOCD and we got to see how powerful it actually is. After writing our OpenOCD config, we were able to connect via telnet and dump the entirety of RAM using the builtin dump_image command. We patched some strings in the firmware, wrote it back and verified! We were also able to use gdb via OpenOCD and see that the SSD was in a while loop waiting for reads and that when we did a write to the SSD we could break out of the loop. It was really interesting to see some of the internal workings and how the SSD managed wear leveling.
JTAG lab number two was really interesting as we looked at the BeagleBone board, which is essentially another low cost dev board like a raspberry pi. This was one of my favorites as we actually got to perform sort-of privilege escalation exploit on the target we were looking at! It involved some reverse engineering of firmware and actually getting to patch the physical memory where some credential structures were! All of this using OpenOCD’s GDB featuer with the symbols from another compiled linux kernel. By doing this we could directly reference structures in the linux kernel by name. I won’t go into too much more detail as I don’t want to spoil the module, but suffice it to say, this one in particular was super fun and when you really understand the protocols of how it’s working, it makes you have a real 1337 hacker moment. You’ll be using a matrix background and saying “um, actually” to all your friends online in no time.

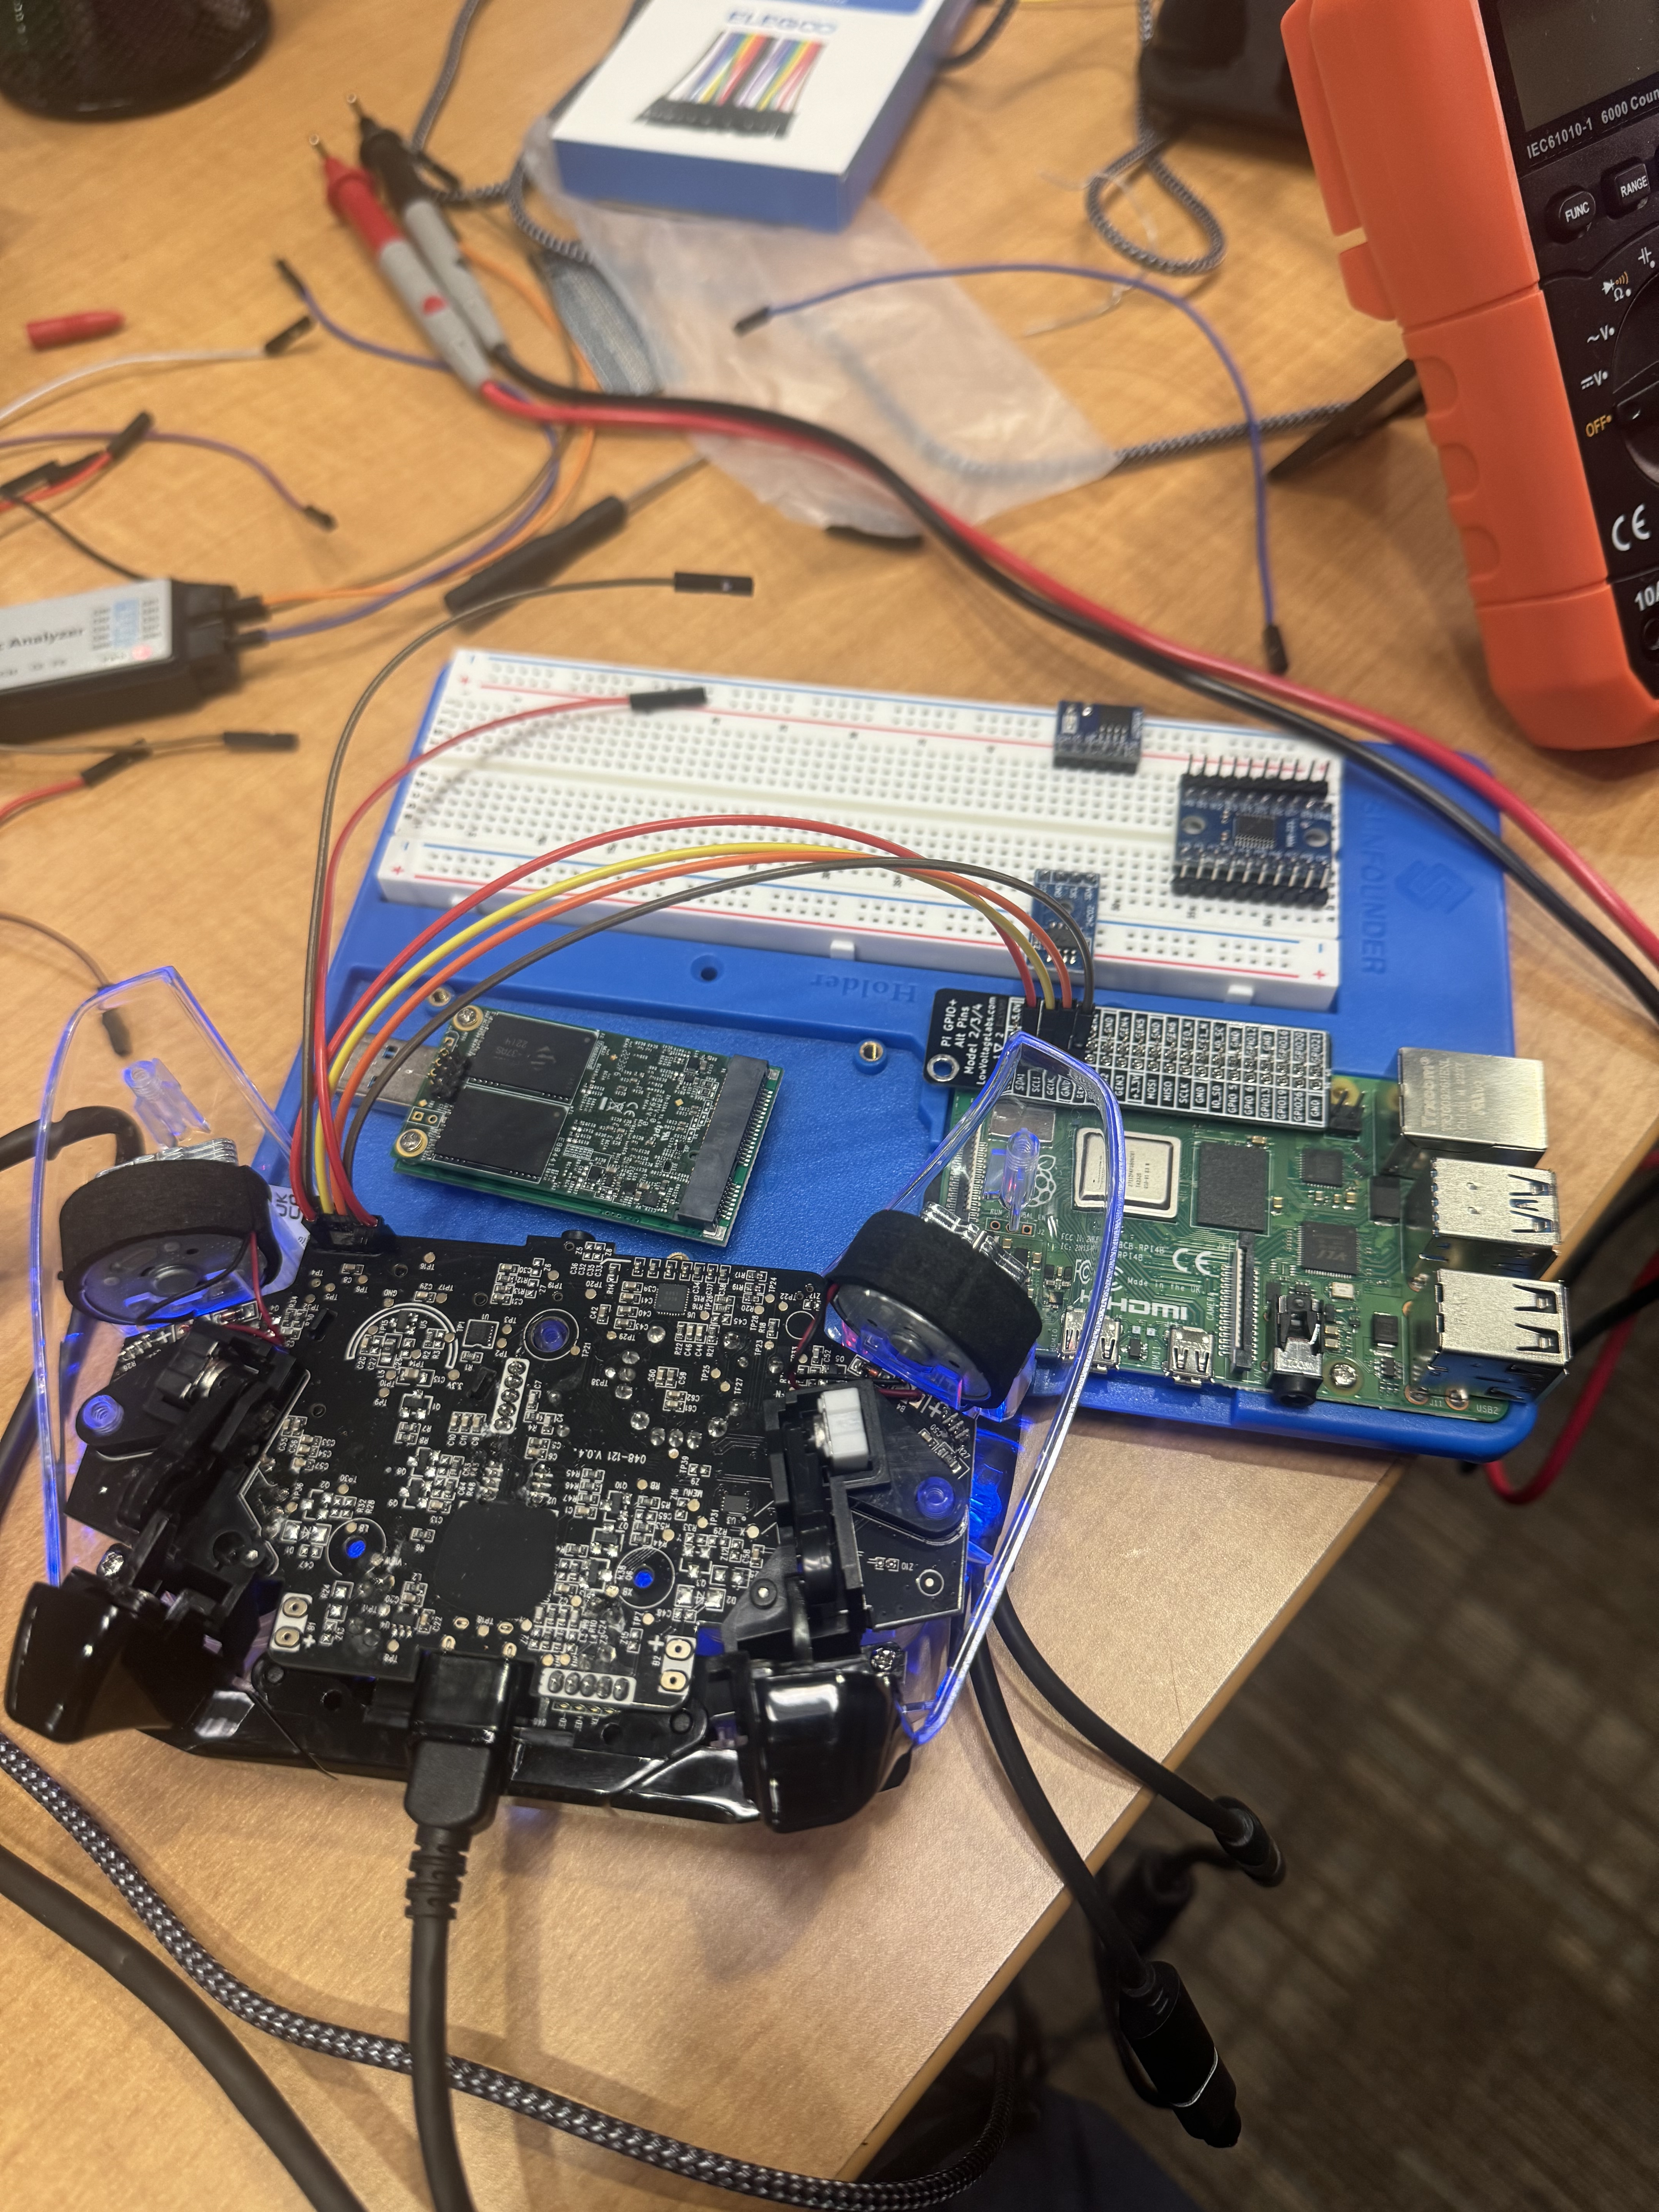
Following the JTAG lecture we were onto the final day which was going over SWD. Our target was an xbox one controller(pictured below). We spent some time identifying the components on the controller and then got to work identifying that it was SWD in our multimeter and subsequently our logic analyzer. Following this we grabbed a luckily pre-existing OpenOCD config file and began configuring it for our device. Once done, similar to JTAG, we ran it and connected over telnet to the device. One there we could grab the flash memory off the board, download it locally, edit it to our liking, rewrite it back to the controller, and profit! Unfortunately in this case we again just modified a few strings and wrote it back as a proof of concept, but I found that in this setting and with this many people, that it was perfectly reasonable to not go too deep into the firmware RE as it wasn’t really in scope for this training.
In the final hours of the last day a few of us took apart and messed with a few extra devices that the instructor had brought along; though admittedly it had been a long week and I think folks were just about ready for the weekend, so not much time was really spent before heading out.
Skills Gained
Until this course, PCBs always seemed intimidating to me, with their intricate lines and metallic components. I knew there were chips, and traces, and headers, but no clue what they did or why they were there. Overall, I think one of the most important things I learned in this course was the ability to identify key components of a PCB. Knowing that when you see lots of bunched together capacitors it could be an indicator that you’re looking at the power supply, understanding that you can often follow traces on the board to find the CPU, knowing what debug headers might look like, where to find them, and how to verify what protocol they speak by using a multimeter and logic analyzers. Each of these somewhat beginner-level EE skills are something that I think typical CS students like myself aren’t often exposed to.
As it relates to protocols, we covered UART, SPI, I2C, JTAG, and SWD - each in great detail. Including covering the low-level specification, analyzing the digital signals, manually sending bytes that adhere to the protocol, and finally using prebuilt libraries that can accomplish the task much easier. By the time we get to using the actual tools, we have now built up a great knowledge base and have much more intuition for when tools inevitably break.
The only bit of feedback I have is that it would have been nice to learn about how to properly solder onto the boards we had. Though admittedly it seems difficult with 1) fumes if 20 people are soldering in one room and 2) the liability of people not burning themselves. I think this course could have a very nice part 2 where students that have either taken the first course or perhaps sign some liability paperwork can learn about more soldering, desoldering, fault injection, glitching, etc.
Conclusion
I would highly recommend this course to folks that are trying to break into the hardware hacking scene. While I don’t have an affiliate link to share (purely a #freeadvertisement here), I genuinely enjoyed the course and how Matt Alt delivered it. Additionally, I found it awesome that this course allowed its participants to take home an entire case of hardware hacking equipment that you now know how to use. It’s really unlike any other trainings I’ve seen. I’ve been somewhat inspired by this course to continue and try and do some independent work on some other hardware devices, so you may see some follow up blog posts regarding that, so look out! If you want to learn more about course offerings or see the course syllabus, go checkout the course website at https://voidstarsec.com/